Browsing Tag

vegan

Strawberry Rhubarb Pie

August 23, 2012

strawberry-rhubarb-pie

Rhubarb is one of the season’s sweetest gifts. These crisp, tart stalks that look like ruby-red celery start appearing in the farmer’s market in early spring. They get snapped up in a hurry by eager bakers, but to the uninitiated they are a bit of a mystery. That’s because rhubarb looks so much like a vegetable — it is in fact a vegetable– and is so lip-puckering sour that someone who’s never tried it before can’t help but wonder how it would fit in with sweets, where it is most often used. Well, I have an easy solution to make you a believer: put some rhubarb where your mouth is. But first, bake it into a pie, like this one I have for you today.

Strawberry rhubarb pie is adored by many, in spite of or perhaps because of its old-timey charm. At their best, cooked strawberries taste like cotton candy and rhubarb is the perfect almost citrusy-sour contrast. There’s no twist here, nothing fancy whatsoever. This recipe is simple, just the way I like it. I want you to have access to the most balanced approach to a strawberry rhubarb pie. This is a recipe to keep in your back pocket, taped to the inside of your pantry cabinet, or simply seared into your mind.

Vegan & Gluten-Free Pie Crust

Makes 1 approximately 9″ pie crust

Ingredients:

  • 1 1/2 cups rice flour (brown or white)
  • 1/4 tsp. baking powder
  • 1 Tbsp. agave nectar, or sweetener of choice
  • pinch of salt
  • 1 Tbsp. ground flaxseed + 3 Tbsp. water
  • 1/4 cup dairy-free buttery spread, melted
  • cold water

Directions:

  1. Stir together the flaxseed mixture and melted dairy-free buttery spread.
  2. Sift together the dry ingredients over the wet ingredients. Stir the dough together – it will be soft and crumbly. Add enough cold water so that the dough can be pressed together and holds.
  3. Lightly oil the pie pan.
  4. Press the dough into the pie pan and up the sides as far as possible being sure to keep the crust an even thickness. I use a flat bottomed measuring cup to help make the crust even and flat.

pie-strawberry-rhubarb

Strawberry-Rhubarb Filling

Ingredients:

  • 3 cups thinly sliced rhubarb
  • 2 cups rough chopped strawberries
  • 1/2 cup agave nectar, or sweetener of choice
  • 1/4 cup tapioca or cornstarch (gluten-free)
  • 1 Tbsp. fresh lemon juice
  • 1 tsp. lemon zest

Directions:

  1. Preheat oven to 425° F (218° C).
  2. Combine all of the filling ingredients together in a large mixing bowl.
  3. Add filling to the prepared pie shell. Cover loosely with tin foil and poke a few holes in the foil to let steam escape.
  4. Bake for about 20 minutes at 425° F (218° C). Lower heat to 350° F (177° C), and remove the tin foil. Bake for an additional 30 to 35 minutes, filling should be bubbling and the crust should be golden.
  5. Place on a cooling rack and let cool for about 30 minutes before serving.


(Photo Credit: my sister, Jenny Norris – jjnorris.com)

Gourmet Popsicles

August 11, 2012

Gourmet popsicles are making their way as the newest food rage. You can see evidence of that in some way in just about every food publication you pick up, on any food show on television and all over the internet. There is hardly a specialty food market, farmer’s market or food truck anywhere that does not have some representation of these handcrafted, gourmet frozen confections. And why not? They are fun, creative, and in most cases, a healthy option to some of the overly sweetened, processed frozen treats that have been making the scene for years.

Ever since we browsed the People’s Pops stall at the Brooklyn Flea Market, I starting gathering a little inspiration for my own homemade artisan popsicles. We purchased fruit from farmer’s markets and condensed it into the form of a simple and nostalgic summertime staple. With temperatures reaching  over 90 degrees while visiting NYC, the popsicles we made at my sister’s apartment were the perfect antidote to the heat — if only for a few minutes.

Ginger Tea Cherry Popsicles

Ingredients:

  • 1.5 cups hot water
  • 2 ginger tea bags
  • 1 Tbsp. agave nectar, or sweetener of choice
  • a pinch of salt
  • 1 cup of pitted cherries (I used sour cherries)
  • 1 Tbsp. lemon juice

Directions:

  1. Steep ginger tea bags in hot water for 5 minutes.
  2. Discard tea bags and stir in agave nectar. Set aside to cool.
  3. Add lemon juice and salt. Stir to combine.
  4. Pour the ginger tea concoction into popsicle trays and add cherries. Freeze completely (4-5 hours).
  5. To un-mold, place popsicle trays under running hot water for a few seconds.

Almond Pear Popsicles

Ingredients:

  • 1.5 cups almond milk
  • 1 pear, sliced
  • ½ tsp. almond extract
  • 1 Tbsp. agave nectar, or sweetener of choice
  • Pinch of cinnamon

Directions:

  1. Place almond milk into a small bowl. Stir in almond extract, agave nectar and cinnamon.
  2. Pour mixture into popsicle trays and add pear slices. Freeze until set (4-5 hours).
  3. To un-mold, place popsicle trays under running hot water for a few seconds.

Enjoy!

(Photo Credit: my sister, Jenny Norris – jjnorris.com)

Sprouting 101

July 31, 2012
sprouting-101

When we think of sprouting, most people think of alfalfa sprouts. What most people don’t realize is that you can sprout any truly raw seed, nut and/or grain or legume. You don’t have to be a health nut (no pun intended) or a raw foodist to be a sprouter. I began my adventures in sprouting this spring and it has turned into a real obsession in our house. I’ve sprouted chickpeas, lentils, mung beans and alfalfa so far. We can’t get enough of them.

Sprouts are a miracle food. Sprouts can be grown any time of the year, without soil, maturing in three to five days even without sunshine and rival almost any food in nutrition value. Sprouts will grow year-round in any climate with very little effort to provide vital, organic, locally grown produce (as local as your own kitchen!).

Sprouts are seeds, nuts, beans, or gains that have been germinated with water. This initiates the growth process. Sprouting transforms seeds from a dry, dormant storehouse of nutrition into a wealth of bioavailable vitamins, minerals, and protein that is rich in enzymes for easy digestion. Sprouts are abundant in all essential amino acids (the building blocks of protein), vitamins, minerals, chlorophyll, and enzymes. Sprouts are perhaps the most vital of all fresh foods. Sprouting actually increases the nutritional value of foods. A seed contains more concentrated nutrition that the plant on which it grew. As a plant matures, energy is collected and focused into producing a seed for reproduction. The seed is the storehouse of essential energy. When the seed is germinated, the potential energy is awakened and the complex concentration of energy is broken down into a simpler, more available state. which is easier to digest.

sprout-dish

Sprouts are nutritional powerhouses. Any means of incorporating and munching sprouts on a regular basis is a champion of choices. They can be put into salads, breads, used in soup… or eatten as is.

Equipment for sprouting:

  • Glass jar with a wide mouth
  • 1 piece of screen or mesh
  • 1 rubber band (to secure the screen or mesh)
  • Fresh water
  • Seed, nut, bean, or grain of choice

How to make sprouts

Use one part seed to at least three parts water. Soak in a wide-mouth jar. All measurements below yield one quart of ready sprouts. Half-gallon or larger jars are more convenient.

Seed                                      Soak time            Days to sprout

2 Tbsp. alfalfa                      6 hours                      5-6 days

½ cup lentils                        8 hours                     3 days

½ cup mung beans             8 hours                     3-5 days

1 cup wheat or rye               12 hours                   3 days

1 cup garbanzo beans         12 hours                   3-5 days

2 cups sunflower seeds      12 hours                   2 days

sprouting-progress

Directions:

  1. Cover the mouth of the jar with a plastic or stainless steel sprouting screen or cheesecloth, which is tied on or secured with a rubber band (I use a sprouting jar). After soaking seeds, drain well and keep in a warm dark place.
  2. Rinse twice a day, ideally morning and evening. Keep jar tilted mouth down for better drainage.
  3. After a few days you will notice nice little sprouts appearing. Once ready, they can be refrigerated. They keep up to one week in a plastic bag or covered glass jar.

Cashew Cream Cheese

July 23, 2012
cashew-cream-cheese

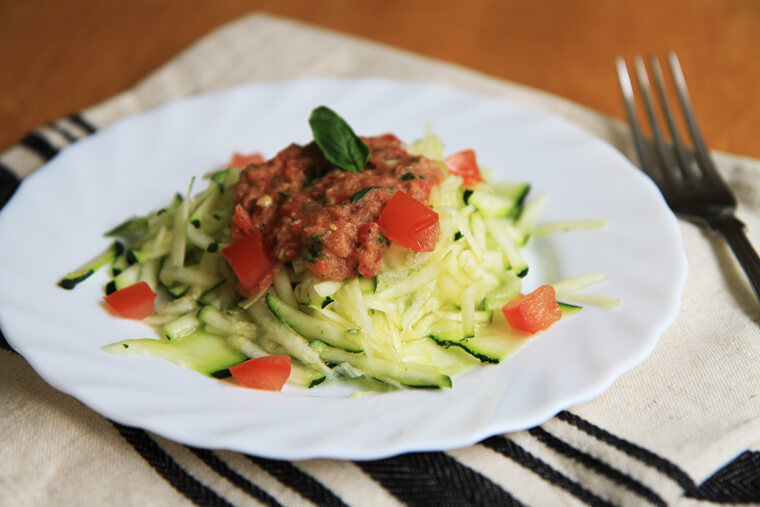
Nut cheeses are a great item to have in your raw food recipe collection. They are tasty, easily support the addition of many herbs and spices, and will impress your raw and non-raw friends a like. Instead of dairy, this delicious dish is made from blended cashews, giving it a smooth, nutty taste. Cashews make a smooth, easy to flavor cheese that has a bit of a softer texture. It’s amazing as a topping for bagels, in dip recipes and as cream cheese frosting. You don’t need a high powered blender to make it, but if you’ve got one – why not use it.

Cashews are rich in a number of health-promoting nutrients, including magnesium, copper, tryptophan, and healthy fatty acids. A diet that is rich in high quality cashews can help keep your teeth and bones healthy and help prevent high blood pressure. I enjoy eating this nutty spread on crackers with fresh fruit. If you enjoy cream cheese, I encourage you to give the following dairy-free and healthy cream cheese recipe a try. Hope you enjoy it as much as my family does.

Cashew Cream Cheese

Vegan, Raw

Ingredients:

  • 1 cup raw cashews, soaked overnight (soaking is optional)
  • 1/4 cup – 1/2 cup water as needed for desired consistency
  • 3 Tbsp. freshly squeezed lemon juice
  • 3 Tbsp. nutritional yeast
  • 1 clove fresh garlic
  • 2 tsp. agave nectar
  • sea salt to taste

Directions:

  1. Place all of the ingredients in a blender or food processor and blend until smooth.  Add more water if needed.

The more water you add, the creamier the cheese will become. Add less water for a thicker, more rustic cheese. If you enjoy cream cheese with fresh herbs, add a heaping tablespoon of green onions, chives (or any other fresh herbs that are readily available) to the mix before you blend.

(Photo Credit: my sister, Jenny Norris – jjnorris.com)