Pineapple Rosemary Limeade

May 30, 2013
pineapple-rosemary-limeade

There is nothing better than a long summer’s evening. With daylight stretching well past 10pm here in Ireland, there is plenty of time to unwind with a cold drink in hand. As the days get warmer and longer, nothing is quite as refreshing as a tall glass of limeade. Anyone who has made limeade from scratch before probably has their ideal ratio of lime and water down to a science. In case you don’t, I’ve got you covered – plus we’re adding some unexpected flavors. Classic limeade is nice, it is also extra nice with an added twist of rosemary and pineapple. This sunny weather classic has a woody, sour bite that would be a fine addition to any summertime spread.

Whether you’re hosting a summer party or just need to cool off with on a hot day, a good drink recipe is always good to have on hand. This sultry take on the sidewalk-stand classic will be a huge hit this weekend. If you’re feeling extra frisky, try adding a drop of your preferred liquor. I know what I’ll be sipping on this weekend ;)

rosemary-infused-limeade

Pineapple Rosemary Limeade

Serves 4

Ingredients:

  • 1/2 pineapple, chopped (3 cups)
  • 2 sprigs fresh rosemary, more for garnish
  • 1/2 cup lime juice (from about 4 limes)
  • 12 oz club soda
  • Ice, for serving

Directions:

  1. Pulse pineapple in a food processor until very finely chopped or run pineapple through a juicer. 
  2. Add pineapple, rosemary, lime juice and club soda to a pitcher and stir to combine. Serve over ice and garnish with additional rosemary.

Vegan Spring Rolls

May 14, 2013
vegan-spring-rolls

Oh, I’ve been looking forward to sharing this with you! Not only because it has become my favorite snack/meal, but also due to the fact that it is a tribute to spring and all the amazing light summer meals this time of year! While we have seen many more rain showers than we’ve seen the sun over the last few days, I know warmer temperatures are on the way (fingers crossed!). Spring rolls are the perfect food to get you feeling like warmer days are already here.

Before I made my first spring roll, I have to admit, I was intimidated to take on the task – especially after my sushi rolling experience. But let me tell you, once you start making your own spring rolls, you’ll never stop. It is so much easier that you would think, and this way you can come up with crazy concoctions that you would not be able to order from take out. After a little practice, I know you’ll be raving about them as much as me.

I love the idea of stuffing what is fresh and seasonal into a spring roll. Because spring is here, I chose to go with a mostly green veggie palette – cilantro, lettuce, avocado, cucumber and carrot for a little color and something sweet. Use whatever you have on hand and what is in season. This meal is a great way to use up all the little bits of veggies hanging out in the fridge that you haven’t found a use for.

veggie-spring-rolls-vegan

Vegan Spring Rolls

Serves 6 rolls

Ingredients:

  • 6 rice paper wraps (found in health food shops or the Asian section of well stocked markets)
  • lettuce
  • 1/2 cup cilantro sprigs
  • 1 1/4 cup grated carrots
  • 1 2/4 cup grated cucumber
  • 1 large avocado

Directions:

  1. Set up your roll work space. You need a large bowl of warm water and a damp dish towel to work on. Set out your lettuce, cilantro, carrots, cucumber and avocado.
  2. Working one roll at a time, put the rice wrap flat into the large bowl of warm water, being careful to not let it curl up, until soft, about one minute.
  3. Lay the wrap down on the dish towel. Down the center, like a burrito, layer the cilantro, lettuce,small handful of the carrots, cucumber and a few slices of avocado. Fold over the top and bottom ends over the filling, tuck the right flap over and then roll to close. Repeat with remaining wraps.


Photo Credit: my sister, Jenny Norris – jjnorris.com

My Three Day Detox Plan

April 26, 2013
my-three-day-detox-plan

Spring has definitely started to reveal it’s pretty face in my part of the world. The beginning of a new season always sparks enthusiasm for new habits, fresh goals and great ideas. If it takes the arrival of a new season to inspire you to do a detox, then let’s do it! But if you have never done a cleanse or detox before it can be overwhelming. On the other hand, if you have and you didn’t get the results you expected, this post might give you some insight and inspiration to give it a shot and succeed in a way that could truly change your life forever.

Whether you want to commit to a healthier eating regimen or simply treat your body to some rest, my three-day detox plan is a delicious way to do it. I’ve prepared a streamlined menu of big batch meals so that you can front load all of the work. By eating clean you will help your body focus on detoxing, rather than on breaking down complex foods. According to many ancient health philosophies such as traditional Chinese Medicine and Ayurveda, the spring season rules the liver, an organ that’s essential for overall wellness, but especially digestion.

These dishes give your digestive system a rest from processed foods and allergens like dairy and gluten. Loading up on the season’s fibrous fruits and vegetables helps remove toxins. A regular cleanse will support a desire to maintain a healthier, much lower level of toxins and move them out on a constant basis in order to avoid disease. Since spring is an optimal time to refresh your energy and start something new, it’s also a great time to simplify your eating and choose foods that will support your overall health.

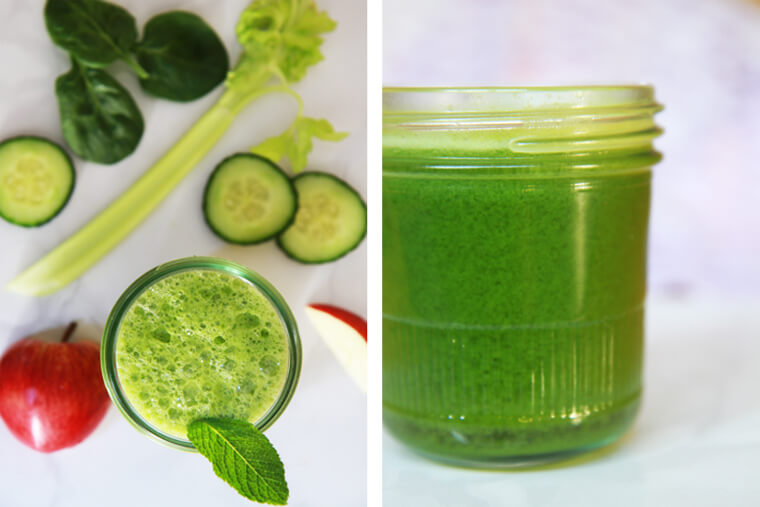
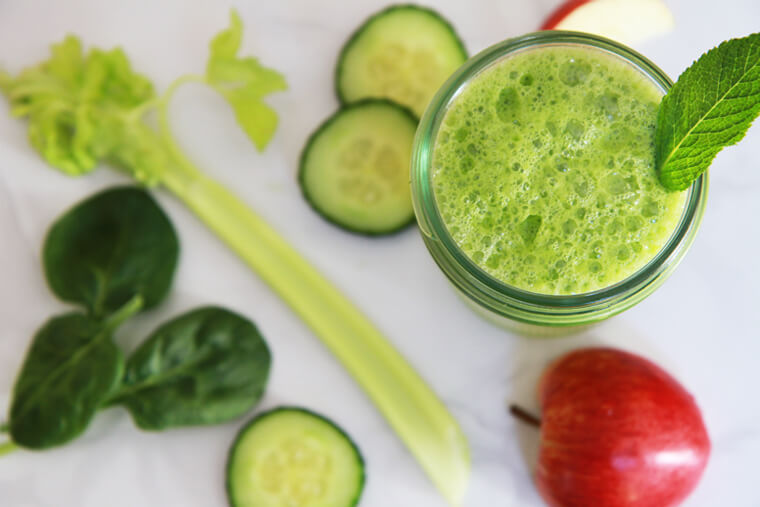
green-smoothie

Basic Outline of the Detox

A plant-based, alkalizing lifestyle, as I embrace with this blog, will naturally flush toxins to detox the body and allow it to return to it’s ideal body weight.

  • Alkalizing the body with chlorophyll rich green veggies naturally buffers the acids from an acidic lifestyle and assists in flushing toxins.
  • A balance of 80% veggies to 20% healthy acidic whole foods – see alkaline chart here – in an everyday way to be constantly detoxing your body. Choose organic whenever possible, prepare meals that are colorful and juice daily if you can.
  • Consume good quality water, 2-3 liters per day to really flush those toxins and minimize the detox symptoms one might experience.  If you are quite “toxic” and have never cleansed I recommend you go easy and do a slower version by leaning into a clean detoxing alkaline lifestyle.  Start adding as much veggies and green juice as you can handle every single day and continually increase to the 80/20 ratio.
  • I highly recommend this juice cleanse to flush your system and jump start your detoxing alkaline lifestyle.  Take a thorough read through the post and see if it’s for you. It changed my life for good! If the body can really detox and there are no more or considerably less toxins coming in, magic happens!

DAY 1, 2 & 3

RECIPES

Ginger Lemon Detox

ginger-lemon-detox 
Serves 1

Ingredients:

  • 12 ounces spring or filtered water, at room temperature
  • juice of 1/2 lemon
  • 1/2-inch knob of ginger root

Directions:

  1. Add the lemon juice  and ginger root to the glass of water. Enjoy at room temperature upon rising for an amazing start to the day!


Apple with Tahini

apple-with-tahini

Serves 1

Ingredients:

  • 1 tablespoon tahini
  • 1 sweet apple (such as Honeycrisp or Pink Lady), cored and sliced

Directions:

  1. Drizzle tahini over apple.


Activated Nuts and Seeds

activated-nuts-and-seeds

Serves 3

Ingredients:

  • 3 handfuls raw almonds (you can use almonds or a mixture of macadamia nuts, pecans, hazelnuts, Brazil nuts, pine nuts, pumpkin seeds, or sunflower seeds if desired)
  • filtered or spring water, at room temperature
  • 1 teaspoon sea salt

Directions:

  1. In a large bowl, place all of the ingredients with enough water to cover fully. Leave at room temperature for at least 4 hours, or overnight. Strain and store the nuts in a covered container in the fridge.


Calming Chamomile Tea

calming-chamomile-tea

Serves 1

  • 1 cup spring or filtered water
  • 1 chamomile tea bag or 1 tablespoon dried chamomile flowers

Directions:

  1. Bring the water to a boil and pour into a teacup or mug. Add the tea bag or, if using loose flowers, use a teapot and a strainer. Steep for 3 to 5 minutes, then enjoy.

Optionally, try other herbal detox teas such as nettle, dandelion root or licorice root.

simple-quinoa-salad

After completing such a regimen, you will develop a pattern of taking care of yourself that will stick if you are persistent right now. You’ll also begin to notice some pretty amazing things. Pay attention to your body and really try to feel and notice the way your energy changes. Do you feel more vibrant, more energetic? Are you sleeping better? Is your skin glowing? Your skin tells all- your depth of color and brightness and clarity show how healthy you are! It will be contagious and maybe your friends will start on a healthier journey with you!

Are you excited about a new direction for your health? I hope you are inspired by the messages here. I’m about to start a spring cleaning so I’d love to have you join me May 1st-3rd! As always, please don’t hesitate to drop me a line with any questions or comments you might have. Also be sure to sign up for my newsletter where I share exclusive content, recipes and fun tips!

Sending you vibrant health and strength to make the best choices possible for your body so you can thrive this year and for many more to come!


*Disclaimer: The content on this site is not written with intentions to substitute professional medical advice, diagnosis or treatments. Our content is for information purposes only and should not be used to diagnose or treat health issues of any sort. We cannot be held liable for any ill effects caused by following these instructions or this material. Always consult with a medical professional when adjusting your diet. 


Grilled White Asparagus with Currant Jelly

April 16, 2013
grilled-white-asparagus-with-currant-jelly

How is it only now I’ve been introduced to white asparagus? I remember seeing it in the States, but for some reason I never gave it a try until moving to Europe. In Cork, white asparagus is coming into season and it can be found in every market.

I’m really beginning to love asparagus because it’s one of the few vegetables that can stand on their own – artichokes and leeks are the others -and can be served warm or cold. But white asparagus, with its ivory color, is also elegant. It has a special delicacy and less herbaceousness than the green and is less likely to be bitter. It is nutty, succulent and satisfying, which is why just three or four thick spears makes a substantial side dish. Since it’s season is short, I grab the white while I can.

White asparagus is grown completely underground, a process called etiolation. The spears are deprived of light which prevents the plant from producing chlorophyll, thus there is no green color to the stalks. Asparagus is a great source of many nutrients, including fiber, folic acid, calcium and iron. But one thing that may surprise you is that asparagus is loaded with the lesser-known vitamin K. Some vitamin K in our bodies is actually produced by the friendly bacteria in our gut, but the majority we get from the plants that we eat.

I chose to dress this veggie with a tart, juicy currant jelly which compliments the asparagus’ delicate flavor. It may sound crazy mixing veggies with berries, but it really works. Simply delicious.

healthy-red-currants

red-currants-lemon

Grilled White Asparagus with Currant Jelly & Lemon Zest

Serves 2

Ingredients:

  • 6-8 spears white asparagus
  • melted coconut oil
  • pinch of sea salt
  • handful of fresh red currants
  • spinach
  • lemon zest

Directions:

Preparing the asparagus

  1. Rinse the asparagus. Using a knife, remove the bottom 1/2 inch of each spear. Remove the tough peel from each spear using a vegetable peeler.
  2. Brush each spear with coconut oil. Sprinkle with salt.
  3. Place the spears on a grill rack over medium-low heat, taking care not to break any of the spears. Turn frequently, every minute or so, using tongs to prevent burning. Grilling uncovered is best due to the constant attention needed during cooking. Spears are ready to serve when there are light brown grill marks on each side. Cooking time will vary according to the specific temperature of the grill being used and the level of doneness desired.

Preparing the currant jelly

  1. Place currants in a bowl and mash with a spoon.

Assembly

  1. Place grilled asparagus on top of a fresh bed of spinach and top with currant jelly and lemon zest. Enjoy.

Photo Credit: my sister, Jenny Norris – jjnorris.com